
Last updated October 16, 2026
 Wrought iron
 Wood & steel frame
 Farm & ranch
 Sliding driveway gates
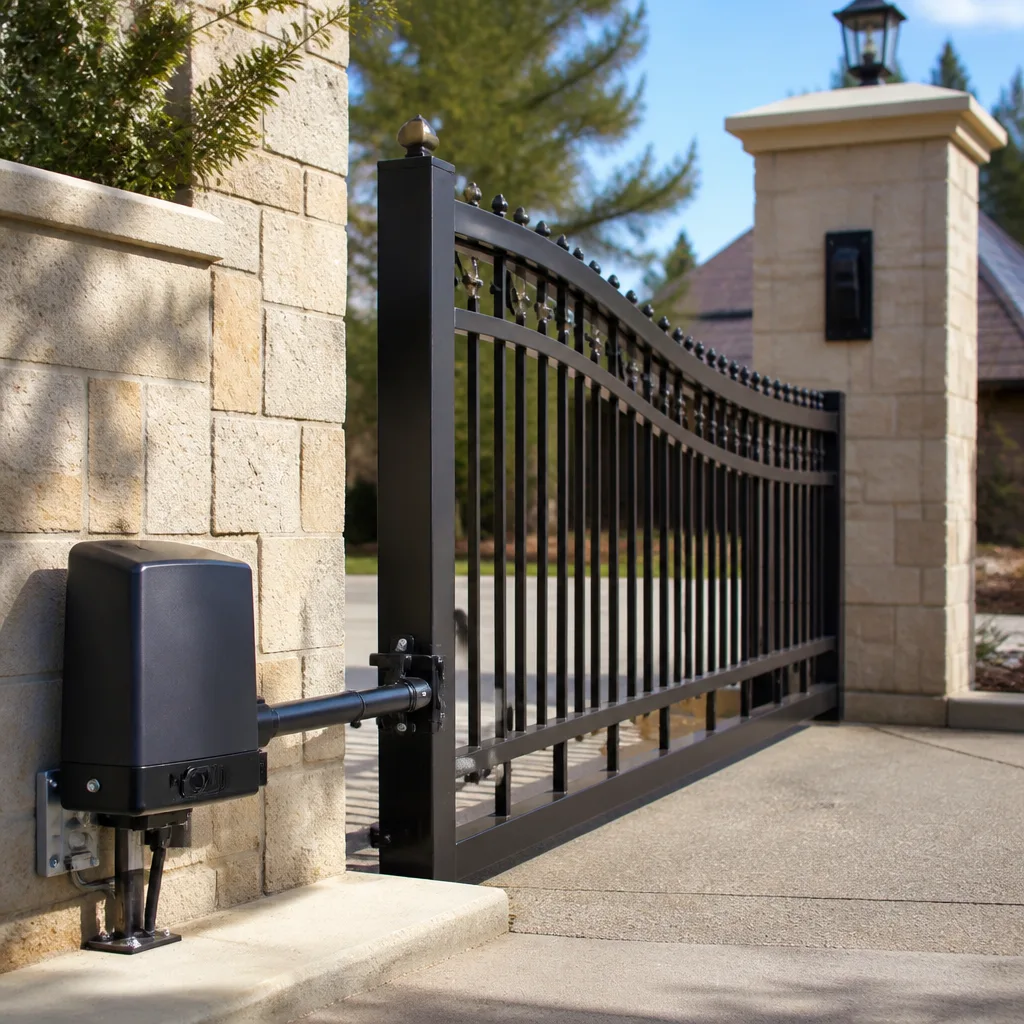 LiftMaster operators
Free on-site gate assessment - hinges, posts, and your LiftMaster or Nice gate operator checked before anything is quoted
The assessment is free and the quote is the invoice.
Get your free estimateGate Repair Maintenance Checklist for San Antonio Homeowners
Most gate maintenance guides read like they were written for a mild-climate suburb in Ohio. San Antonio gates fail for reasons those guides never mention: cedar pollen coating photoelectric sensors in February, nylon rollers degrading in July heat that pushes 100°F, and flash-flood debris shifting gate posts in October. This checklist is built around the failures we actually see in San Antonio, month by month, task by task. You’ll learn what to check, what to lubricate, what to leave alone, and which five-minute tests catch most problems before they strand you outside your own driveway.
Quick Answer
A practical gate maintenance schedule for San Antonio homeowners means cleaning photoelectric sensors every month during cedar season (February through March), lubricating hinges and wheels in late spring before heat peaks, testing the opener’s force limits seasonally, and checking drainage around gate posts before October storms. Fifteen focused minutes per month prevents roughly 80% of the gate failures that would otherwise require our Gate Repair services across San Antonio.
Styles & brands we work with
Table of Contents
- The San Antonio Seasonal Maintenance Calendar
- Cedar Pollen and Photoelectric Sensors: The February Problem
- Lubrication: What to Use, What to Avoid, and Why It Matters in San Antonio Heat
- The 5-Minute Gate Balance and Force Limit Test
- Drainage and Post Stability Before October Storm Season
- Warranty-Killing Mistakes: What Not to Do on LiftMaster, Viking, and FAAC Openers
- Keeping a Maintenance Log: Why Dated Records Matter for Resale and Repairs
The San Antonio Seasonal Maintenance Calendar
San Antonio’s climate does not forgive neglected gate hardware. The combination of intense summer heat, humidity swings, cedar pollen, and periodic flash flooding creates a specific failure pattern. We’ve organized this calendar around the actual triggers our techs see at gate repair calls across San Antonio.
Here is the month-by-month breakdown:
- January: Inspect the full gate path for winter debris. Remove leaves and gravel from the track. Check that the gate closes fully against both stops. Cold snaps make metal contract; listen for new rattles that indicate loose bolts.
- February: Begin monthly photoelectric sensor cleaning. Cedar pollen peaks this month and runs through March. One invisible film of pollen is enough to cause phantom reversals where the gate stops and reverses as if a child were standing in the path.
- March: Continue sensor cleaning. Test the opener’s auto-reverse force by placing a 2×4 flat on the ground in the gate path. A properly adjusted opener reverses on contact. If it pushes through, call a professional, because this is a genuine safety hazard.
- April: Lubricate hinge pins, roller bearings, and the opener’s drive chain or screw. Do this before the heat arrives. Lubricant flows into tight clearances more easily at 75°F than at 98°F.
- May: Check for rust on wrought iron or steel gate frames. Coastal humidity is not a San Antonio problem, but condensation cycles in spring create surface rust. Wire-brush small spots and apply cold galvanizing spray.
- June: Inspect rubber weather seals and edge sensors for cracking. Heat accelerates rubber degradation. Replace any safety edge that has visible cracks or has gone stiff.
- July: Test the opener’s thermal behavior. Run the gate four or five full cycles in the afternoon heat. If the motor bogs down or trips its internal breaker on the fourth cycle, the capacitor or the motor itself is heat-stressed. Do not ignore it; August will be worse.
- August: Check all electrical conduit and wire connections at the opener box for heat damage. UV light breaks down wire insulation over time. Look for any exposed copper.
- September: Prepare for rain. Clear the drainage channel under the gate and check that weep holes in the post caps are open. Standing water at the base of a gate post is the quiet killer of gate alignment.
- October: After the first heavy rain, recheck post plumb with a level. Flash flooding softens the soil around posts, especially in clay-heavy areas on the north side of San Antonio. A gate that was level in September may be sagging by mid-October.
- November: Deep-clean the gate track and wheels. Remove the accumulated grime of ten months. Inspect wheels for flat spots.
- December: Test the manual release mechanism. Every opener has one. It should operate smoothly so you can open the gate by hand during a power outage. Do this twice a year, minimum.
This calendar is not theoretical. It comes from observing pattern failures in electric gate systems throughout San Antonio neighborhoods from Stone Oak to Alamo Heights over many years. Gates that follow this schedule simply fail less often.
Cedar Pollen and Photoelectric Sensors: The February Problem
Cedar pollen season in San Antonio, which runs roughly from late January through March, is the single most common trigger for phantom gate reversals. The pollen coats photoelectric sensors, the small paired eyes mounted on either side of the gate opening. When enough pollen accumulates, the beam between them scatters. The opener reads that scattered beam as an obstruction and refuses to close, or it reverses midway through the cycle.
Homeowners call us convinced their gate opener is broken. In our experience, a large share of those February and March calls are resolved with a sensor cleaning and nothing else. Here is how to clean the sensors correctly:
- Locate both photoelectric sensors. They are usually mounted 6 to 18 inches above the ground on opposite sides of the gate opening, one transmitting and one receiving.
- Use a dry microfiber cloth to wipe the lens face on each sensor. Do not use water, glass cleaner, or any spray. Moisture leaves a residue that actually attracts pollen faster.
- Wipe the lens a second time with a clean corner of the cloth.
- Check the small indicator LED on each sensor. On LiftMaster and most other brands, a solid green light means the beam is aligned and clear. A blinking or red light indicates a problem.
- If the light is still blinking after cleaning, gently adjust the sensor angle until the light goes solid. The sensors must point directly at each other.
- Repeat this cleaning every two weeks during cedar season, then monthly the rest of the year.
One practical tip for San Antonio homeowners: if you have a cedar or Ashe juniper tree within 50 feet of the gate, double your cleaning frequency. The pollen plume is concentrated near the source. The same advice applies to homes near the greenbelts along the northern edge of the city, where Ashe juniper density is highest.
Lubrication: What to Use, What to Avoid, and Why It Matters in San Antonio Heat
The wrong lubricant on a San Antonio gate in August turns into a sticky, dust-attracting paste. The right lubricant keeps moving parts quiet and wears slowly. This matters because gate repair costs increase sharply once a dry bearing wears into an oval.
Here is what to use, and what to leave on the hardware store shelf:
- Use a dry silicone spray or PTFE-based lubricant on hinge pins, roller bearings, and sliding gate track. These products lubricate without leaving a wet film that collects dust, pollen, and grit.
- Use white lithium grease sparingly on the opener’s drive chain or screw. Apply a thin coat, then wipe away the excess. In San Antonio heat, excess grease liquefies and drips onto the ground, and the remaining film oxidizes into a gummy residue.
- Use a food-grade silicone spray on rubber weather seals and edge sensors. It keeps the rubber from drying out and cracking without degrading it.
- Never use WD-40 on nylon rollers, rubber seals, or any plastic component. WD-40 is a solvent-based penetrant, not a lubricant. It breaks down nylon over time and causes rubber to swell and soften, which is exactly backwards in a 100°F climate.
- Never use axle or chassis grease on gate hardware. It is too thick for the close-tolerance bearings in gate wheels and hinges, and it traps abrasive dust.
For sliding gates specifically, the track matters as much as the wheels. A clean, dry track with lightly lubricated wheel bearings is the goal. Do not grease the track itself. Greased tracks collect San Antonio dust and turn into a grinding paste within weeks. If your track has visible grease on it, clean it with a degreaser and leave it dry.
For gate motor longevity in San Antonio, lubrication of the mechanical drive is only half the equation. The other half is making sure the motor itself is not working against a dry, binding gate. A properly lubricated gate reduces the load on the motor, which reduces heat buildup, which extends the life of the capacitor and the motor windings.
The 5-Minute Gate Balance and Force Limit Test
Most emerging gate problems announce themselves weeks or months before a hard failure. The gate moves a little slower. The motor sounds strained. The auto-reverse triggers when it should not. This five-minute test catches the majority of those early warnings before you’re stuck with a gate that will not open.
Run this test every season, four times a year:
- Disconnect the opener. Pull the manual release handle. On most LiftMaster, DoorKing, and Elite openers, this is a red or yellow handle on the opener arm or chain rail. The gate should now move freely by hand.
- Push the gate through its full travel by hand. It should move smoothly with even resistance. If it catches, binds, or feels heavier at any point, you have a hardware problem: a dry hinge, a failing roller bearing, or a misaligned track.
- Check balance at the halfway point. Let go of the gate at mid-travel. A properly balanced gate stays roughly in place or drifts only slightly. If it swings or slides strongly in either direction, the gate is out of balance and the opener is working harder than it should.
- Reconnect the opener and run one full open-close cycle. Watch and listen. The gate should move at a consistent speed with no hesitation and no change in motor pitch.
- Test the auto-reverse force. Place a 2×4 flat on the ground in the closing path. Trigger the gate to close. It should reverse on contact with the wood. If it pushes through or reverses only after applying significant pressure, the force limit is set too high. This is the gate equivalent of a garage door that will not stop for a child.
That last step is not optional. A gate opener with the force limit cranked up is genuinely dangerous for children, pets, and older adults. If your gate fails the 2×4 test, call a professional. Do not adjust the force limit yourself unless you have the manufacturer’s manual and feel confident with the procedure. This is one of the few maintenance items where the stakes are high enough to warrant a trained hand.
We recommend running this test in April, July, October, and January. The seasonal rhythm catches problems at the moments when San Antonio weather is about to stress the system hardest.
Drainage and Post Stability Before October Storm Season
San Antonio does not get steady, gentle rain. It gets downpours. When a thunderstorm drops two inches in an hour, water sheets across driveways and pools at the lowest point, which is often the gate opening. If that water has nowhere to go, it soaks the soil around the gate posts.
Here is what happens next. The clay-rich soil on much of San Antonio’s north and west sides expands when wet and contracts when dry. Each expansion cycle pushes the post slightly out of alignment. After enough cycles, a gate that once closed flush against the latch post now sags an inch low, and the opener strains against the misalignment every single cycle.
Check these drainage points before the October storm season and again after any major rain event:
- Clear the channel under the gate. Most driveway gates have a drainage gap or channel at ground level. Debris collects there over the dry summer. Clear it so water can flow through rather than pool.
- Check the post caps and weep holes. Hollow steel gate posts should have small drainage holes near the base. If they are clogged, clean them out. Trapped water inside a post is a long-term rust risk.
- Inspect the ground around each post. Look for soil erosion or a visible depression forming around the post base. A depression means water is pooling directly against the post, which accelerates the expansion-contraction cycle.
- Check post plumb with a level. Do this in September as a baseline and again after the first heavy rain. A small shift is easier to correct early than a large one later.
If you notice a post has shifted more than a quarter inch, do not try to straighten it yourself by pulling on the gate. Post realignment involves digging out the footing, re-setting the post in concrete, and holding it in alignment while the concrete cures. It is a two-person job with the right equipment. A misaligned post left untreated, though, will damage the opener, the hinges, and eventually the gate leaf itself.
Warranty-Killing Mistakes: What Not to Do on LiftMaster, Viking, and FAAC Openers
Gate openers are expensive, and manufacturers are specific about what voids the warranty. Some of the most common DIY maintenance tasks in San Antonio actually void coverage on LiftMaster, Viking, and FAAC openers, because the manufacturer considers those tasks installation-level work that must be performed by a qualified technician-something we cover in our guide to Gate Repair Permits, Codes & Inspections in TX: What You Need to Know.
Here is what to avoid if you want to keep your warranty intact:
- Do not open the opener’s control board enclosure. On LiftMaster and Viking units, opening the sealed control board housing to inspect or clean voids the warranty on most models. The control board is considered a non-serviceable component by the manufacturer.
- Do not adjust force limits or travel limits beyond manufacturer specifications. FAAC openers in particular ship with factory-set limits. Field adjustment is expected, but if a failure occurs and the manufacturer determines the limits were set outside the documented range, warranty claims are denied.
- Do not replace the capacitor or any internal electrical component yourself. Capacitor replacement requires discharging the old capacitor safely. A botched capacitor swap is both a warranty violation and a genuine electrical hazard.
- Do not use aftermarket parts. Installing a non-OEM gear, chain, or control board voids the warranty on that subsystem and often the entire opener. This is an expensive lesson we’ve seen San Antonio homeowners learn the hard way after ordering a cheap knockoff part online.
- Do not pressure-wash the opener or any electrical component. Water intrusion into the opener box is the fastest route to a denied warranty claim. Manufacturers can tell when a control board has been wet.
The pattern here is simple: mechanical lubrication and external cleaning are homeowner tasks. Electrical component work is not. If you’re unsure whether a task crosses the line, check the owner’s manual for your specific model, or call a professional and ask before you touch it. A five-minute phone call is cheaper than a voided warranty on a $1,500 opener.
Warden Gate Repair San Antonio is factory-trained on service for LiftMaster, FAAC, BFT, Linear, Viking, Ghost Controls, DoorKing, Elite, and Mighty Mule equipment. That training matters when a warranty claim is on the line, because manufacturer service documentation specifies exactly what is and is not covered.
Keeping a Maintenance Log: Why Dated Records Matter for Resale and Repairs
A gate maintenance log is one of those small habits that pays off years later, and you’ll find more guides & resources on our blog to help you maintain it. When you sell a San Antonio home, a dated maintenance log tells a buyer that the automatic gate, a meaningful convenience and security feature, has been cared for. When something does eventually fail, the log tells the technician what was done, when, and whether the problem is new or recurring.
Here is a simple format that takes 30 seconds per entry:
- Date: The day the task was performed.
- Task: What was done, in plain language. “Cleaned photoelectric sensors, both sides.”
- Observations: Anything unusual. “Gate makes a new squeak at the halfway point. Will recheck next month.”
- Follow-up needed: Any item to track. “Order replacement rubber edge seal, left side has visible cracking.”
Keep the log in a simple notebook in the garage, or use a notes app on your phone. The format matters less than the consistency. A gate with ten years of dated maintenance records tells a story that a gate with no records cannot.
For troubleshooting, the log is genuinely useful. When a homeowner calls us about a San Antonio gate repair and can tell us, “I lubricated the hinges in April and replaced the right wheel in June, and the noise started in August,” we can often diagnose the problem over the phone before we arrive. That saves everyone time.
For home resale, the log is part of the broader documentation package buyers look for. An automatic gate is a piece of mechanical equipment like a water heater or an HVAC system. Buyers in San Antonio, especially in neighborhoods where gates are common, ask about maintenance history. A clean log answers that question before it is even asked.
Common Mistakes to Avoid
- Greasing the sliding gate track. Grease plus San Antonio dust creates an abrasive paste that grinds down wheels and track. The track should be clean and dry, always.
- Using WD-40 on nylon rollers. WD-40 breaks down nylon and rubber over time. In sustained heat, the damage accelerates. Use dry silicone or PTFE spray instead.
- Ignoring cedar pollen sensor buildup in February and March. What looks like an opener failure is often just a pollen-coated sensor lens. Clean the lenses every two weeks during cedar season.
- Skipping the auto-reverse force test. A gate opener with a force limit set too high is dangerous for children and pets. The 2×4 test takes twenty seconds and should be done quarterly.
- Adjusting opener internals without checking the manual. On LiftMaster, Viking, and FAAC openers, opening the control board housing or adjusting beyond factory specs can void the warranty outright.
- Letting post misalignment ride. A sagging gate post stresses the opener, hinges, and latch with every cycle. The longer it waits, the more expensive the repair.
- Forgetting the manual release during a power outage drill. If you cannot open your gate by hand when the power is out, the gate is not an asset, it is a liability. Test the manual release twice a year.
See the difference
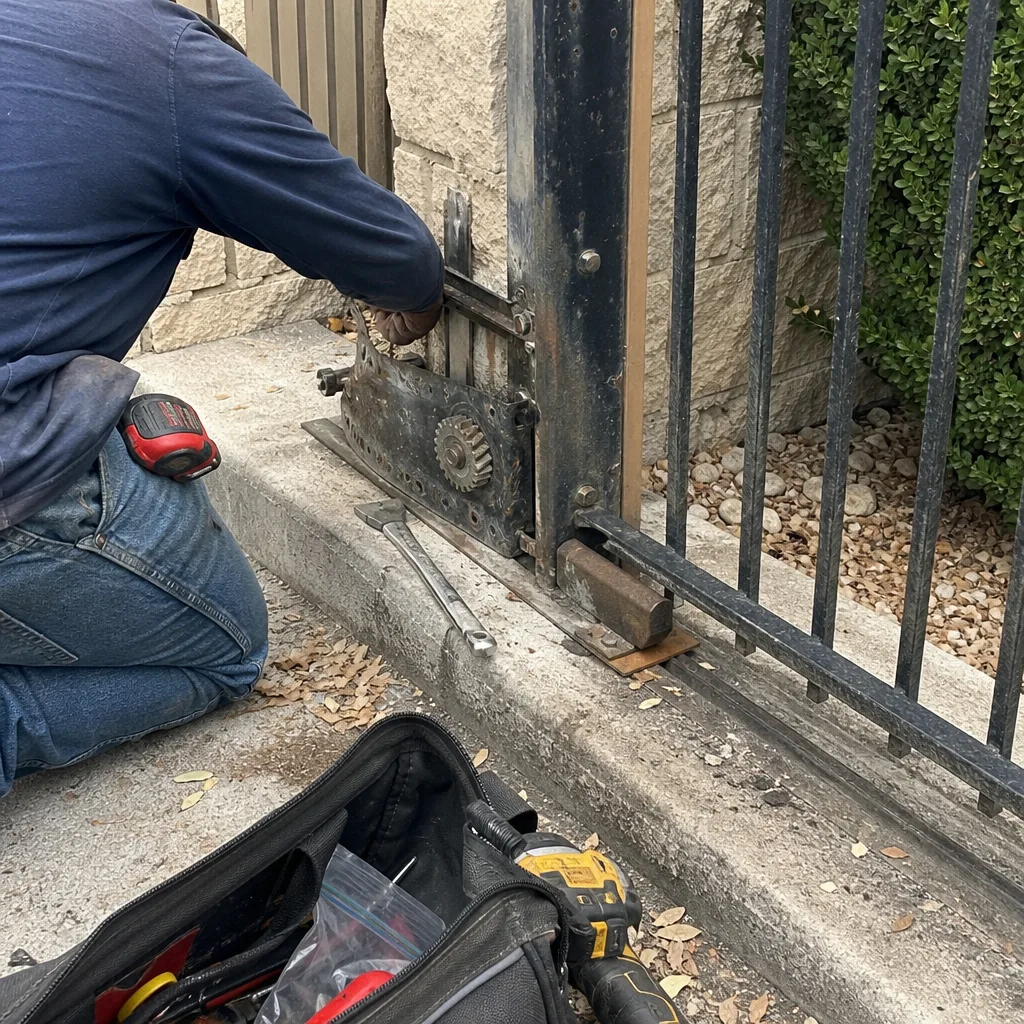 Before
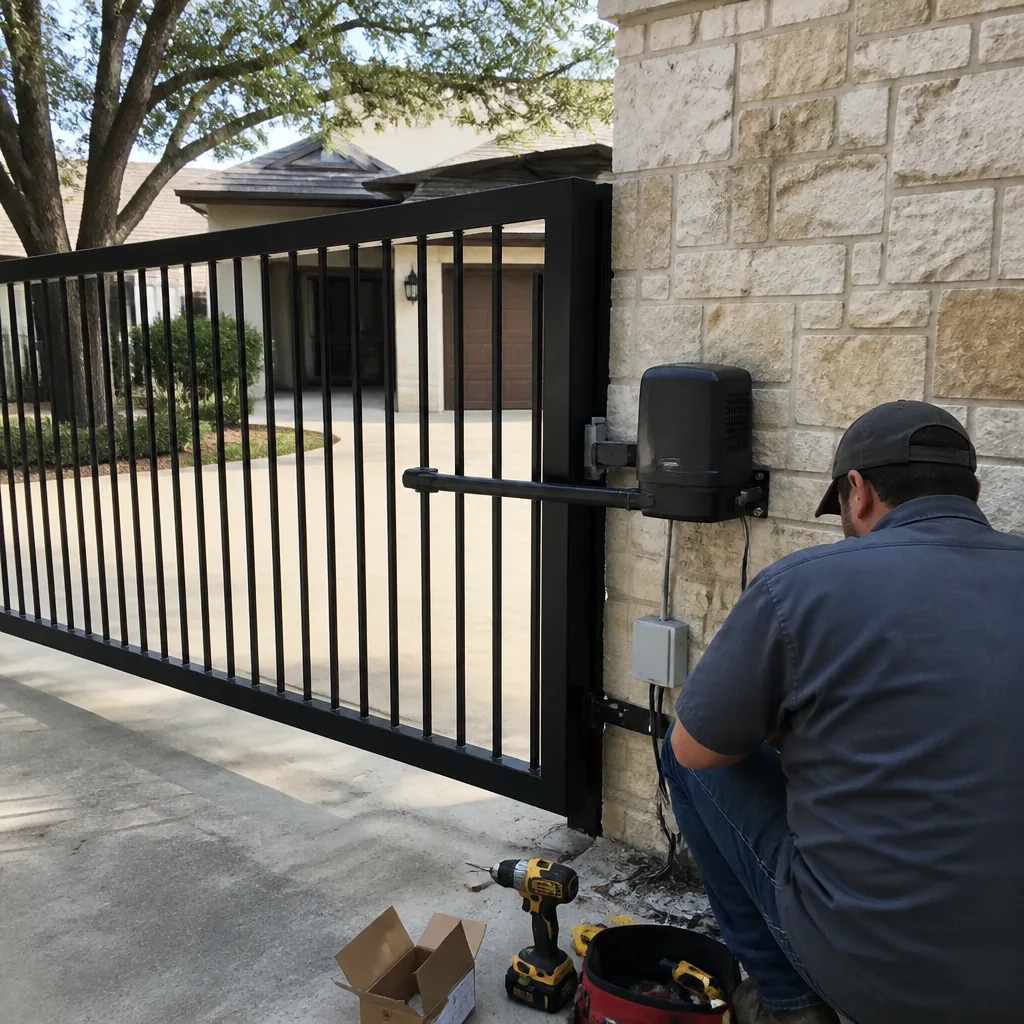 After
After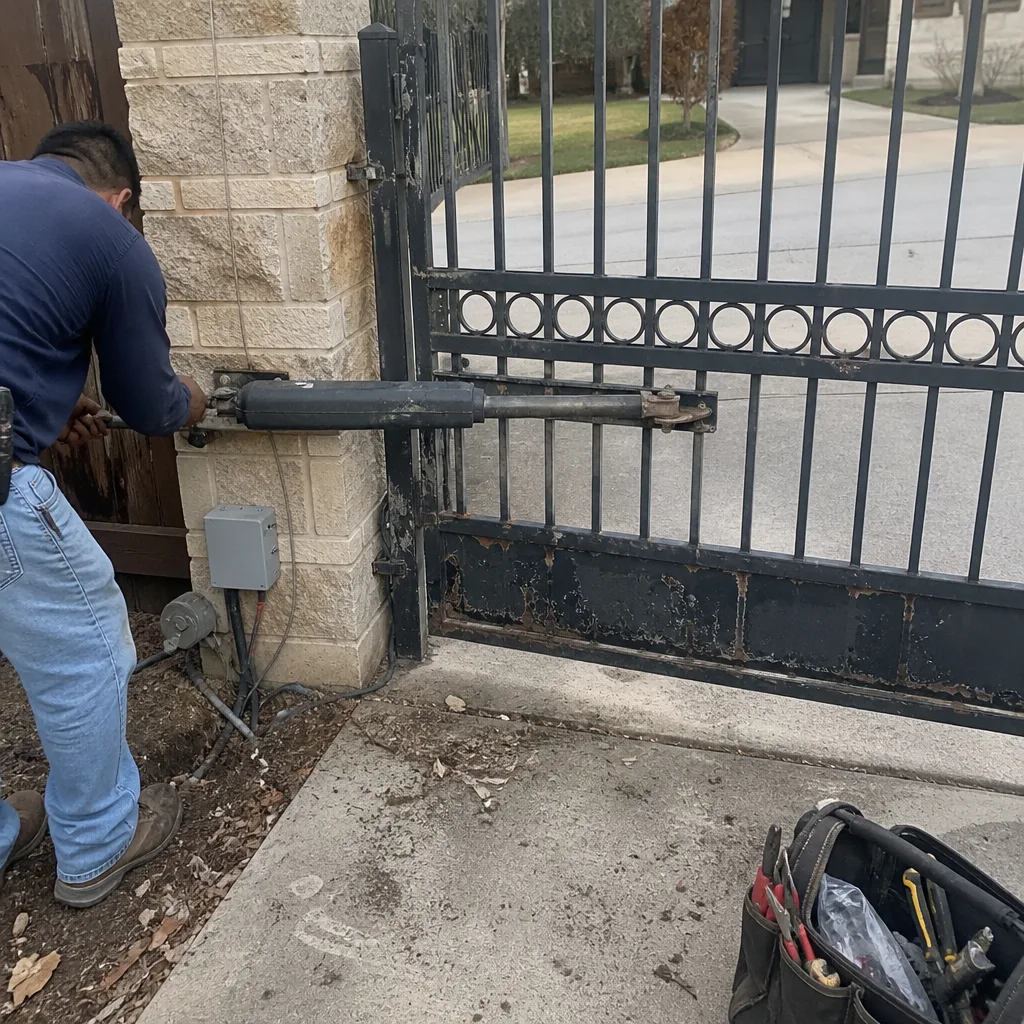 Before
 After
After Before
 After
AfterWhen to Call a Professional
Some maintenance tasks are yours. Some are not. Call a professional when the gate fails the 2×4 auto-reverse test, when a post has shifted visibly out of plumb, when the opener trips its breaker repeatedly in the heat, when you see exposed or damaged wiring, or when a wax or oil leak appears near the opener’s gearbox. These are not homeowner-level repairs, and attempting them without training makes the problem worse. Warden Gate Repair San Antonio offers free estimates across San Antonio. Call (940) 531-3336 and we’ll send a technician with a written price before any work starts.
Frequently Asked Questions
Run the full seasonal calendar four times a year, with additional photoelectric sensor cleaning every two weeks during cedar season from February through March. A San Antonio gate needs about 15 focused minutes per month across the year to stay reliable.
Cedar pollen coating the photoelectric sensors is the most common cause of phantom gate reversals in San Antonio during February and March. Clean both sensor lenses with a dry microfiber cloth every two weeks during cedar season and the problem usually disappears.
No. WD-40 is a solvent-based penetrant, not a lubricant. It breaks down nylon rollers and rubber seals, and the damage is accelerated by San Antonio’s sustained summer heat. Use a dry silicone spray or PTFE-based lubricant on hinges and rollers instead.
Place a 2×4 flat on the ground in the closing path and trigger the gate to close. A properly adjusted opener reverses on contact with the wood. If it pushes through or only reverses after heavy pressure, the force limit is too high and should be corrected by a professional.
External maintenance like cleaning sensors, lubricating hinges, and clearing the track does not void the warranty. Opening the control board enclosure, replacing internal electrical components, or adjusting limits beyond the manufacturer’s documented range can void coverage. Check the manual before opening any sealed component.
Clear the drainage channel under the gate, check that post weep holes are open, and inspect the ground around each post for pooling or erosion. After the storm, recheck post plumb with a level. Clay-rich San Antonio soil shifts posts when it gets saturated, and early detection saves money.
The Bottom Line
A San Antonio gate lives in cedar pollen, 100-degree heat, and flash-flood rain. Maintenance built around those facts works. Maintenance that ignores them does not. The core routine is simple: clean photoelectric sensors during cedar season, lubricate with dry silicone before summer peaks, test the auto-reverse quarterly, and watch your post drainage before and after storms. Fifteen minutes a month prevents most of the failures we see. When a problem is beyond routine work, Warden Gate Repair San Antonio is one call away at (940) 531-3336, with a written price before any work starts, every time.
Written by Cole Rafferty, Owner at Warden Gate Repair San Antonio, serving San Antonio since 2008.