
Last updated October 16, 2026
 Wrought iron
 Wood & steel frame
 Farm & ranch
 Sliding driveway gates
 LiftMaster operators
Free on-site gate assessment - hinges, posts, and your LiftMaster or Nice gate operator checked before anything is quoted
The assessment is free and the quote is the invoice.
Get your free estimateDIY vs Professional Gate Repair: The San Antonio Homeowner’s Decision Guide
Adjusting a gate opener’s force limit yourself seems like a five-minute fix, right up until you learn that a setting outside the manufacturer’s range voids the warranty on a $900 circuit board, and that an over-forced gate is the mechanism behind most gate-on-vehicle and gate-on-person injury claims in Texas. San Antonio homeowners face this decision every week, usually while staring at a gate that only opens halfway or groans like a wounded animal. This guide lays out exactly which gate repairs are genuinely safe to do yourself, which ones carry hidden consequences, and how to tell the difference without a technical background. We’ll cover what your insurance actually says about self-performed repairs, what a DIY mistake really costs, and the three-question decision tree that settles the argument in under a minute.
Quick Answer
For most San Antonio homeowners, the DIY vs professional gate repair decision comes down to one factor: whether the component you’re touching sits on the mechanical side or the control side. For a deeper look at what professional service involves, see our Gate Repair Cost Breakdown: The San Antonio Homeowner’s Reference for 2026. Lubrication, sensor cleaning, remote battery replacement, and minor alignment checks are safe DIY tasks. Force limit adjustments, logic board programming, weld repairs, and anything involving gate motors (the box that slides or swings your gate automatically) belong with a trained professional, because mistakes there void warranties, create UL 325 safety violations, and can leave you personally liable for injuries. If the repair touches the gate’s brain or its structural welds, hire a pro; if it touches moving parts you can see and clean, you can usually handle it.
Styles & brands we work with
Table of Contents
- The Real DIY Line: What Most Tutorials Get Wrong
- 4 Gate Maintenance Tasks That Are Genuinely Safe for Homeowners
- The Warranty-Voiding and Liability-Creating Tasks
- What Texas Homeowner’s Insurance Actually Says About DIY Gate Repairs
- The True Cost of a DIY Mistake in San Antonio
- The Three-Question Decision Tree
- Common Mistakes to Avoid
- When to Call a Professional
- Frequently Asked Questions
The Real DIY Line: What Most Tutorials Get Wrong
Search “gate repair tutorial” on YouTube and you’ll find a man in a garage telling you that adjusting a force limit is “just turning a screw.” What he won’t tell you is that on a Viking or Linear opener, that screw is calibrated to a specific newton rating that matches the gate’s weight, length, and hinge resistance. Turn it too far in San Antonio’s clay-heavy soil environment, where gate posts shift with every wet-dry cycle, and you’ve created an invisible hazard: a gate that won’t reverse when it hits a child’s bicycle, a delivery driver, or your own car bumper. The distinction isn’t between “hard” and “easy” repairs. It’s between repairs where the consequence of a mistake is cosmetic and repairs where the consequence is legal, financial, or physical.
We’ve been doing gate repair in San Antonio since 2008, and in our experience the DIY conversation usually goes one of two ways. Sometimes a homeowner calls us after trying a fix that worked for three days and then failed spectacularly. Other times they call first, ask the right questions, and save themselves a week of frustration. This guide is written for the second kind of call.
4 Gate Maintenance Tasks That Are Genuinely Safe for Homeowners
These tasks require no specialized tools, no electrical knowledge, and no risk of voiding a manufacturer’s warranty. If you’re a San Antonio homeowner who wants to keep your gate healthy between professional services, start here.
1. Lubricating Hinges, Rollers, and Track Surfaces
Every two to three months, especially before San Antonio’s summer heat accelerates metal expansion, apply a white lithium grease or a silicone-based lubricant to the moving contact points of your gate. The hinge pins, the roller bearings if you have a sliding gate, and the track surface itself all benefit. Use a rag to wipe away old grease and debris first, then apply fresh lubricant sparingly. Excess grease attracts caliche dust and turns into a grinding paste. Do not lubricate the gate motor’s internal components. The motor housing is sealed for a reason, and forcing lubricant inside is one of the most common DIY mistakes we see on FAAC and BFT units across Bexar County.
2. Cleaning Photo Eyes and Safety Sensors
San Antonio’s combination of construction dust, wind-blown tree pollen, and hard water from irrigation overspray coats photo eyes quickly. When your gate starts reversing for no reason or refuses to close, the first thing to check is the small lens on each side of the gate opening. Wipe them with a soft, dry cloth. If there’s caked-on grime, use a damp cloth with a tiny amount of mild dish soap, then dry thoroughly. Do not use a pressure washer. Do not adjust the sensor’s physical position unless you’re confident you can return it to exactly where it was, because a misaligned sensor is a UL 325 compliance issue that can cause the gate to fail its automatic reverse function.
3. Replacing Remote Control Batteries
If your gate opener remote works intermittently, replace the battery. Most gate remotes use a standard coin cell (CR2032) or a 9-volt battery, and the replacement takes two minutes. Check the remote’s rubber seal while you’re in there. San Antonio humidity combines with garage heat to degrade rubber seals faster than in drier climates, and a failed seal lets moisture into the remote’s circuit board. If the seal is cracked or stiff, order a replacement shell from the manufacturer or through a dealer. Do not attempt to resolder or repair the circuit board inside a remote. A new remote costs $30 to $60; a botched soldering job on a Ghost Controls remote can cost you the remote and potentially damage the receiver if the battery contact wiring shorts.
4. Visual Alignment Checks
Stand at the hinge end of your swing gate and look down the top rail. Is the gate level, or does it sag toward the latch post? Look at the gap between the gate and the post at the top and bottom. If the gap is uneven, note which direction the sag leans. Check the hinge bolts for visible loosening (rust streaks around the bolt heads are a telltale sign). For sliding gates, run your hand along the track line and look for debris, pebbles, or acorns lodged in the track channel. These observations help a technician diagnose the problem faster when you do call, and they cost you nothing. What you should not do is tighten load-bearing hinge bolts yourself without knowing the recommended torque. Over-tightening a weld-mounted hinge on an older iron gate can crack the weld or deform the post in San Antonio’s shifting clay soil.
The Warranty-Voiding and Liability-Creating Tasks
These are the tasks where YouTube tutorials do more harm than good. Each one carries a specific consequence that most homeowners don’t discover until it’s too late.
Force Limit Adjustment
The force limit controls how much resistance the gate motor will push against before it reverses. Set too low, and the gate won’t close against a mild San Antonio breeze. Set too high, and the gate becomes a battering ram. UL 325, the federal safety standard for automatic gate operators, specifies that a gate must reverse when it encounters a specific obstruction force. On a Linear or Viking unit, the correct force setting depends on the gate’s weight, length, hinge friction, and the specific motor’s torque curve. This is not a “turn it until it feels right” adjustment. A DIY force limit change that increases the force beyond the manufacturer’s range voids the opener warranty immediately. If that over-forced gate injures someone, your homeowner’s insurance may deny the liability claim on the grounds that you modified a safety device outside manufacturer specifications. Warden Gate Repair sets force limits as part of every gate motor repair in San Antonio call, and we document the setting for the homeowner’s records.
Logic Board Programming and Wiring
The logic board is the circuit board inside the gate motor that controls open direction, close direction, auto-close timing, obstruction sensing, and remote receiver integration. Working on a logic board requires understanding relay logic, low-voltage wiring schematics, and the specific programming protocol for the brand. A BFT controller uses different programming menus than a FAAC controller. Connecting a wire to the wrong terminal can fry the board instantly. Board replacements on mid-range units run $250 to $600 for the part alone, not including labor. What’s worse, a partially fried board can behave erratically for weeks before failing completely, which means a gate might work fine while you’re home and then refuse to open when you’re rushing to a medical appointment.
Weld Repairs on Load-Bearing Components
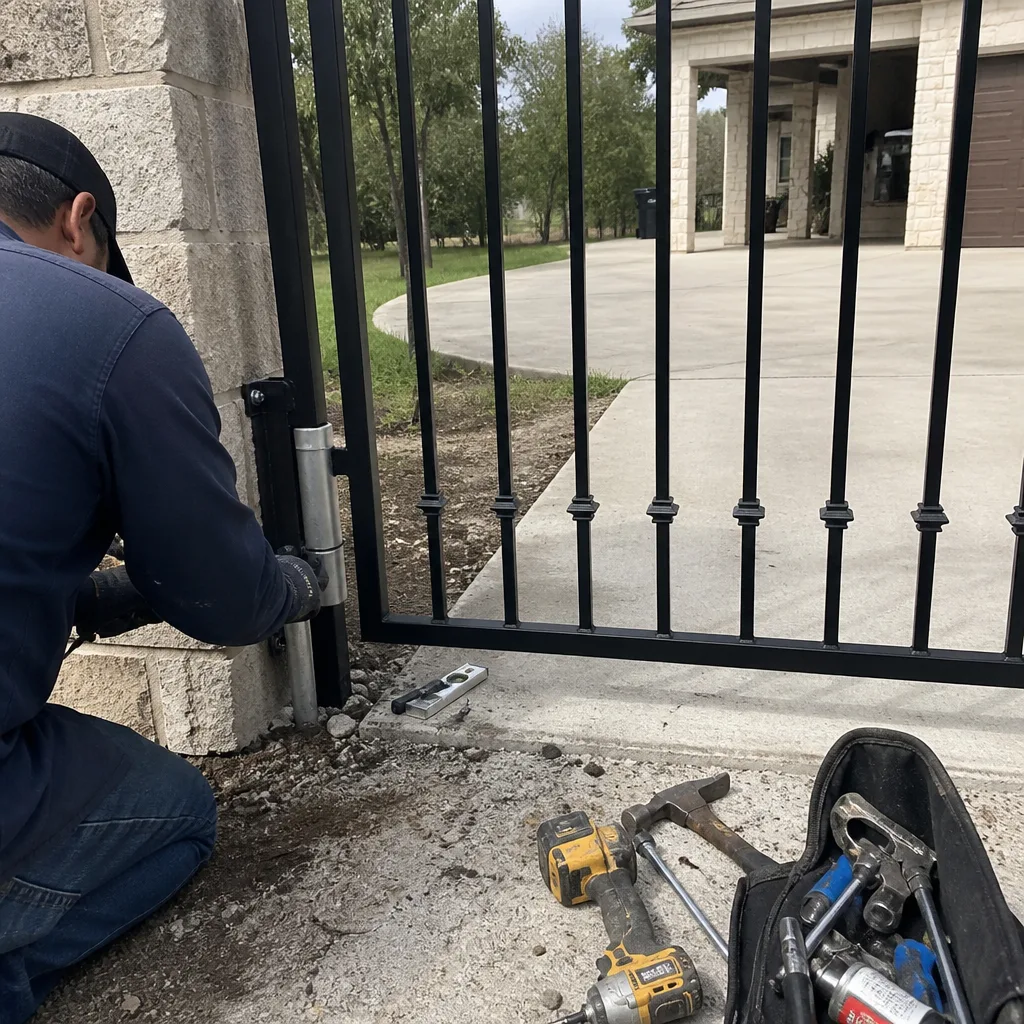
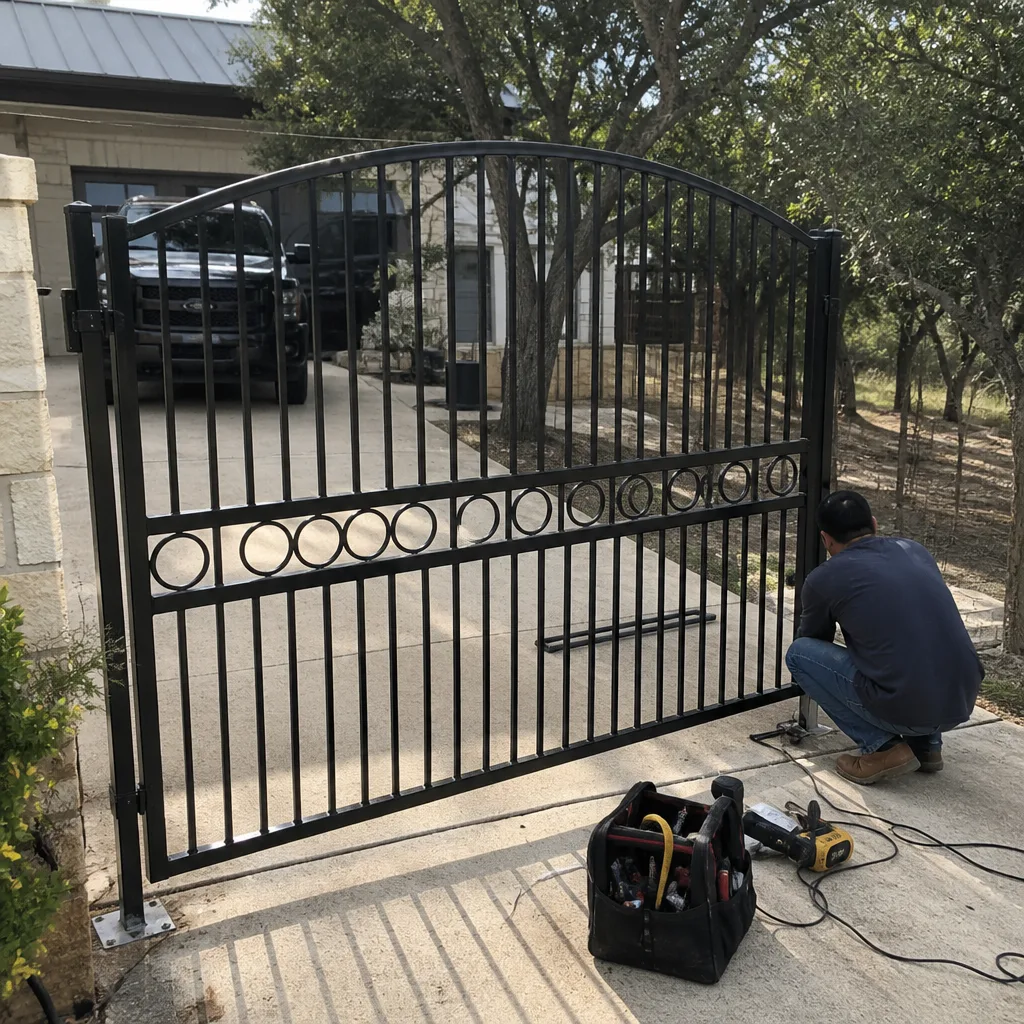
San Antonio’s older neighborhoods, particularly in the Monte Vista and King William districts, are full of ornamental iron gates that are 30, 40, sometimes 50 years old. When a hinge weld cracks or a picket separates from the frame, the temptation is to borrow a friend’s MIG welder and lay a bead on it. The problem: load-bearing gate welds need proper penetration, correct filler material, and a weld sequence that doesn’t introduce new stress points or warp the frame. A cold weld or an overheated weld looks fine on the surface and fails catastrophically later. If that gate falls on a person, the liability is on the person who performed the weld. Licensed welders in San Antonio typically charge $150 to $300 for a mobile gate weld repair, which is a bargain compared to the alternative.
What Texas Homeowner’s Insurance Actually Says About DIY Gate Repairs
Here’s the part most online guides skip entirely. When you perform a repair on your own gate and something goes wrong, your insurance company applies a very specific legal standard: whether the repair was performed in a “workmanlike manner” by a person with “reasonable competence” for the task.
Texas courts have consistently ruled that homeowner’s insurance policies cover sudden and accidental damage, not damage that results from faulty workmanship. If you adjust your gate’s force limit, the gate fails to reverse, and it damages your own car, the insurance adjuster may classify the damage as “faulty workmanship” and deny the claim. If the gate injures a third party (a neighbor, a delivery driver, a child walking by), the liability portion of your policy may also be denied if the insurer can show that you modified a safety device outside manufacturer specifications.
The specific exclusion language to look for in your Texas policy is typically under “Exclusions” in the liability section: “bodily injury or property damage arising out of the insured’s own work or the insured’s business operations.” Even if you’re not operating a business, self-performed repairs that fail can fall under this exclusion umbrella. In practice, San Antonio homeowners who call us after a DIY attempt gone wrong often tell us their insurance adjuster asked two questions: who performed the repair, and was that person licensed or certified for the specific equipment. When the answer is “I did it myself with a YouTube video,” the claim outcome is usually predictable.
The True Cost of a DIY Mistake in San Antonio
Let’s talk real dollars, because this is where the math surprises people. A DIY repair attempt that fails doesn’t just cost you the cost of the professional repair. It costs you the professional repair, plus the parts you already bought, plus the markup on parts that are now harder to source because the unit was partially disassembled, plus the diagnostic time a technician has to spend figuring out what you changed.
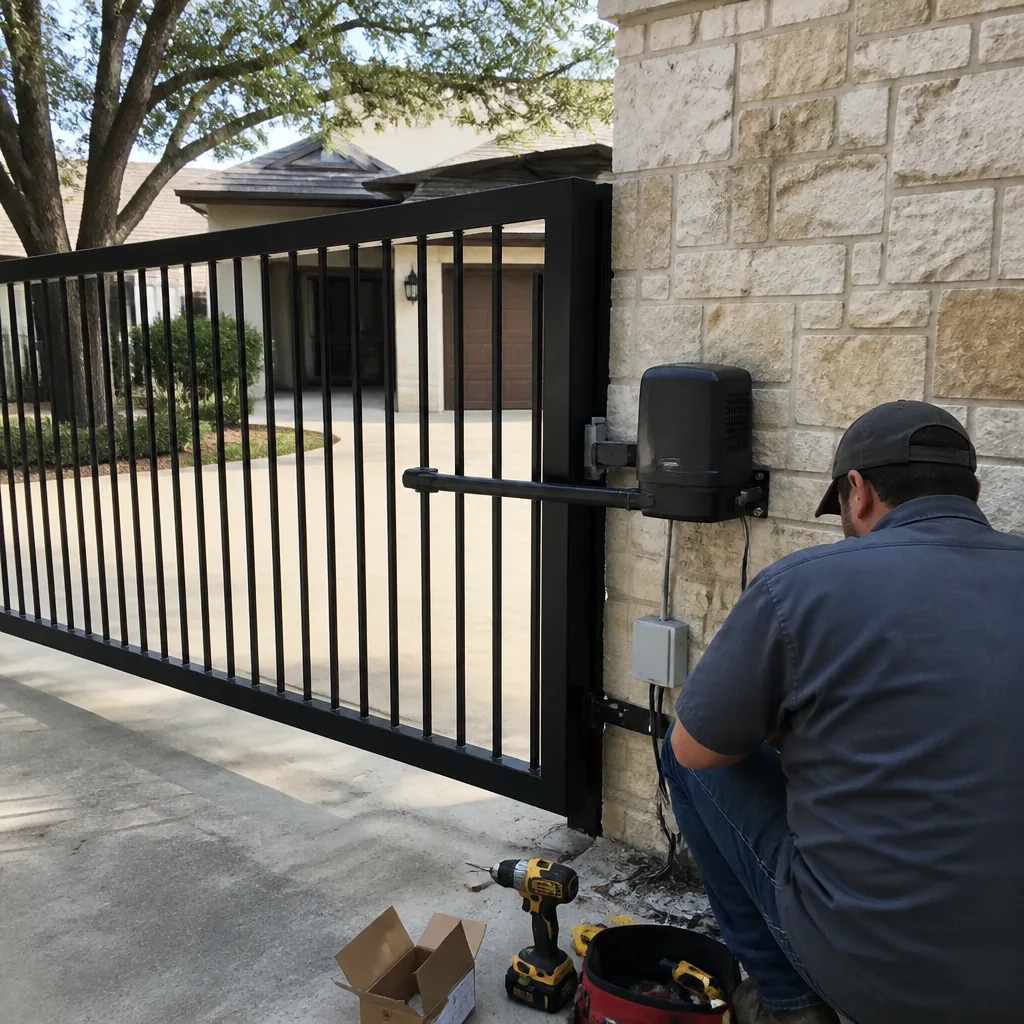
Here’s a typical San Antonio scenario. A homeowner tries to replace a stripped gear on a LiftMaster gate opener themselves. They buy the gear online for $40. They install it, but they don’t seat the drive shaft properly and don’t apply the correct grease. Two weeks later, the gear strips again, this time taking the drive plate with it. The homeowner calls us. Our technician now has to diagnose a unit that has been partially disassembled, which takes longer than a clean first-service call. The repair now requires a new gear, a new drive plate, and additional labor hours. Total cost: $450 to $700, when a first-call professional repair would have been $250 to $400. The DIY “savings” turned into a $200 to $300 loss.
We see this pattern weekly across San Antonio, from Stone Oak to Alamo Heights. The second repair always costs more than the first would have. That’s not a sales pitch. That’s what happens when a technician has to reverse-engineer a previous attempt before starting their own work.
The Three-Question Decision Tree
You don’t need technical knowledge to use this. Answer honestly, and the right call will be obvious.
Question 1: Does the repair involve electricity or the gate motor?
If the answer is yes, the repair belongs with a professional. Gate motors operate on 110-volt or 220-volt circuits in most San Antonio installations. The low-voltage side (24 volts) controls the logic, but the high-voltage side powers the motor itself. Touching the wrong wire on a Viking or BFT unit can cause a shock, a fire, or a fried board. Even replacing a capacitor inside a motor housing is a task better left to someone who does it every day. Capacitors store charge even when the unit is unplugged, and a discharged capacitor against the wrong terminal can ruin a $400 board in a fraction of a second.
Question 2: Does the repair require changing a factory-calibrated setting?
If the answer is yes, the repair belongs with a professional. Force limits, auto-close delay, obstruction sensitivity, and motor run time are all calibrated at the factory for specific ranges. Changing them requires understanding what you’re changing and why, and it voids the manufacturer’s warranty when done outside spec. A factory-trained technician knows the acceptable range for each setting on each brand and can make adjustments without crossing the line.
Question 3: Does the repair require disassembling a load-bearing component?
If the answer is yes, the repair belongs with a professional. Load-bearing components include hinges, hinge posts, weld points, the gate frame itself, and the track support brackets on sliding gates. These parts hold the gate’s weight and keep it from falling. Disassembling any of them without proper support equipment (jacks, braces, come-alongs) risks a falling gate, which weighs anywhere from 200 pounds for a light residential gate to 800 pounds or more for a heavy ornamental iron gate. A falling gate in San Antonio’s windy spring months is a catastrophic injury waiting to happen.
If you answered no to all three questions, you’re probably looking at a lubrication, cleaning, or visual inspection task, and you can safely proceed with the DIY list above.
Common Mistakes to Avoid
- Ignoring the reversing sensor after a DIY track adjustment. When you adjust a sliding gate’s track, you change the gate’s travel alignment, which can throw off the photo eye’s beam path. A misaligned beam means the gate won’t reverse when it should, and you won’t know it until something gets hit.
- Using WD-40 as a gate lubricant. WD-40 is a water displacer, not a lubricant. It evaporates within days in San Antonio’s heat and leaves behind a residue that attracts dust. Use white lithium grease or a silicone-based lubricant instead.
- Over-tightening hinge bolts on older iron gates. San Antonio’s clay soil expands and contracts with moisture, which means gate posts move slightly throughout the year. A hinge bolt that’s too tight transfers that movement stress to the weld, which cracks eventually.
- Adjusting the force limit “just a little” to fix a slow gate. A slow gate is usually a lube issue, a worn capacitor, or a tired motor, not a low force limit. Cranking the force limit masks the real problem and creates a safety hazard in the process.
- Bypassing the safety sensors instead of cleaning them. When photo eyes keep tripping, the frustrating fix is to just wire around them. This directly violates UL 325 and turns your gate from a safety-compliant device into an unguarded machine. The fix is cleaning, realigning, or replacing the sensor at $40 to $80, not bypassing it.
- Attempting a board repair with a multimeter and hope. Logic boards are not like car stereos. There’s no “small fix” on a board that’s experienced a short or a voltage spike. The correct replacement is the fix, and the correct replacement requires matching the exact module and firmware version for your opener.
When to Call a Professional
Call a professional when your gate won’t respond to the remote or keypad at all, when the motor runs but the gate doesn’t move, when the gate reverses randomly, when you hear grinding or popping from the motor housing, when a weld is visibly cracked, or when the gate sags more than an inch from level. Also call if you’re simply not sure. A phone call costs nothing, and a quick diagnostic conversation can save you from the wrong repair. Warden Gate Repair San Antonio offers free estimates in San Antonio. Call (940) 531-3336 and describe what your gate is doing. We’ll tell you honestly whether it’s a DIY-safe fix or one that needs a technician, and we’ll give you a written price before any work starts.
Frequently Asked Questions
Gate repair in San Antonio typically costs between $180 and $500 for common issues like sensor realignment, remote programming, hinge lubrication, and limit switch adjustments. More involved repairs, such as gate motor replacement or logic board installation, range from $450 to $1,200 depending on the brand and model. Warden Gate Repair San Antonio gives every homeowner a written price before work begins, so there are no surprise line items at the end. Call (940) 531-3336 for an exact quote based on your specific gate setup. Estimates are free.
You can physically remove and install a gate motor yourself, but you shouldn’t, because the installation involves high-voltage wiring, torque calibration, and limit setting that must match the gate’s weight and travel distance. An incorrectly installed motor in San Antonio’s temperature swings will fail prematurely, and most manufacturers will not honor the warranty on a motor that was self-installed. Warden Gate Repair is factory-trained across nine major brands including FAAC, BFT, Linear, and Viking, so the right parts and the right knowledge arrive together. Call (940) 531-3336 for a free estimate on motor replacement.
Standard Texas homeowner’s policies do not cover wear-and-tear repairs, including gate motor failure, hinge wear, or track damage from normal use. Insurance applies only when a covered peril (storm damage, vehicle impact, vandalism) causes the damage. If your gate is damaged by a vehicle, your policy or the driver’s auto policy may cover the repair. Self-performed repairs that later cause damage or injury are typically excluded as faulty workmanship. For regular maintenance and non-covered repairs, you’ll pay out of pocket. That’s a good reason to get an honest upfront quote. Call (940) 531-3336 to talk through your specific situation.
Warden Gate Repair services LiftMaster, FAAC, BFT, Linear, Viking, Ghost Controls, DoorKing, Elite, and Mighty Mule gate openers throughout San Antonio and Bexar County. If your opener is one of these brands, we stock the common parts and can usually complete the repair in one visit. If your opener is a brand outside this list, call us anyway and we’ll tell you honestly whether we can help or whether you need a specialized dealer. Our gate motor repair page has more detail on electric gate repair in San Antonio for specific brands and common failure patterns.
In San Antonio’s heat, humidity, and dusty conditions, most residential gate openers last between 7 and 12 years with proper maintenance. The biggest climate-specific killers are UV degradation of the motor housing’s plastic seals, dust infiltration into the gear train, and the expansion-contraction cycle of the gate itself as clay soil shifts. Motors that are lubricated and inspected annually tend to hit the high end of that range. Motors that are ignored until they fail tend to die at the 7-year mark. Our Warden Gate Repair San Antonio home page covers our maintenance approach and the 365-Day Done Right Promise in more detail.
We answer calls live 24/7, and for emergency situations like a gate stuck open on a high-traffic property or a security-sensitive home, we’ll dispatch a technician as quickly as possible, often the same day. Warden Gate Repair prioritizes emergency calls where a gate failure creates a safety or security risk. Call (940) 531-3336 any time and describe the failure. You’ll talk to a real person, not a voicemail, and we’ll tell you honestly what the next available service window is. Every repair comes with a written price before work starts and the 365-Day Done Right Promise with a free return visit if the repair fails.
The Bottom Line
The DIY vs professional gate repair question isn’t about your skill level or your willingness to learn. It’s about which tasks carry hidden consequences that most tutorials never mention. Lubrication, cleaning, remote batteries, and visual inspections are legitimately safe for homeowners and worth doing regularly. Force limit adjustments, logic board programming, weld repairs, and motor work belong with a professional, because the consequences of a mistake include voided warranties, UL 325 violations, insurance claim denials, and genuine physical danger. If a repair touches electricity, calibrated settings, or load-bearing structure, call a professional. If it touches grease, dirt, or dead batteries, you’ve got this. And if you’re not sure which column your problem falls into, Warden Gate Repair San Antonio will tell you honestly over the phone. Call (940) 531-3336 for a free estimate.
Written by Cole Rafferty, Owner at Warden Gate Repair San Antonio, serving San Antonio since 2008. Browse our more guides & resources for additional homeowner tips.
See the difference
 Before
 After
After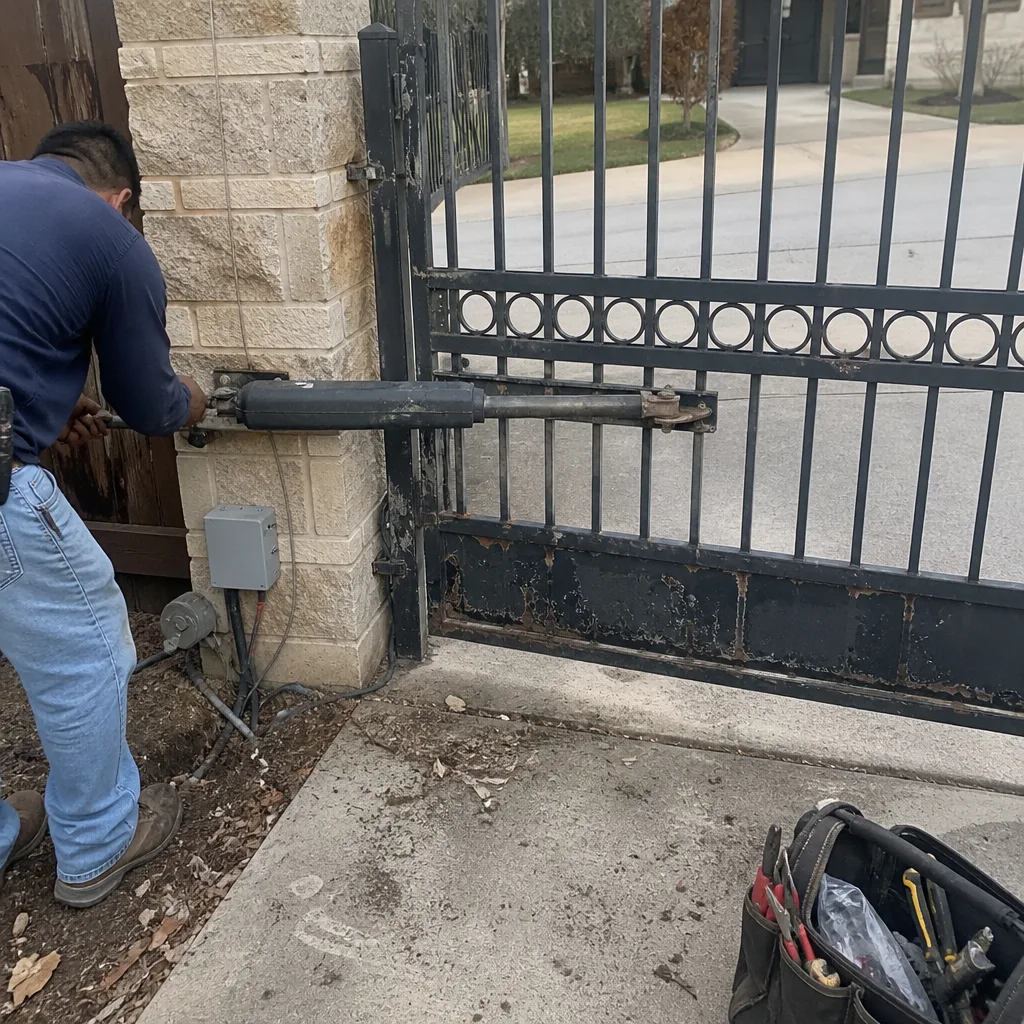 Before
 After
After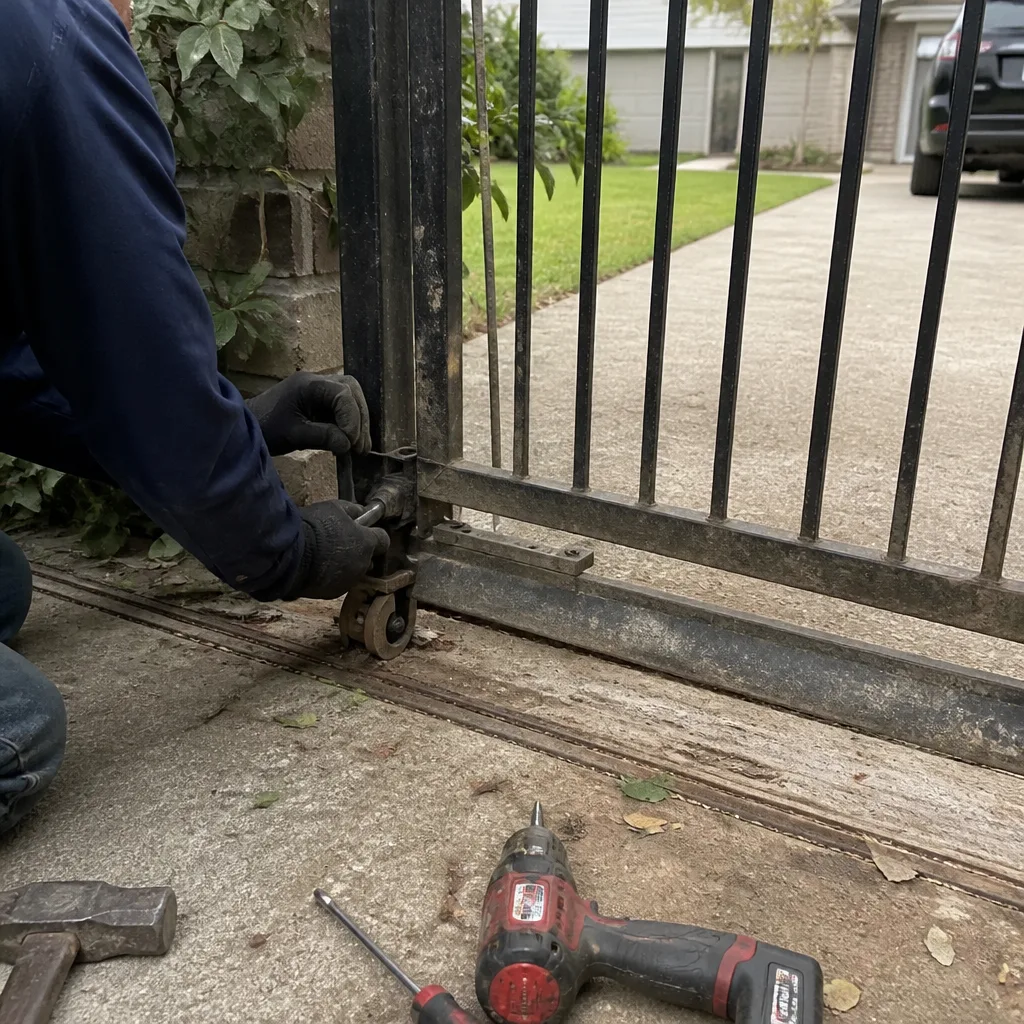 Before
 After
After